
This work is licensed under a Creative Commons Attribution-ShareAlike 4.0 International License.
About
Last Updated 25 July 2018
Created by Wendy Jordan | Updated by Chelsea Smith-Antonides
Table of Contents
- What is OU Create
- Who has Access to Ou Create
- Getting Started Using OU Create
- Using Omeka to build your OU Create Site
- Navigating Omeka
What is OU Create?
Ou Create hosts unique web domains for OU students, faculty, and staff, allowing for users to build and maintain their own website. It can connect users with open-source applications and website building tools designed for personalization of individual sites.
Who has Access to OU Create?
Anyone with an OU Login can create using OU Create. Once a website is published by the user, it is available to the general public (with no OU login required to view it).
Getting Started Using OU Create.
Creating an account via your OU login
- Go to https://create.ou.edu/ and click Get Started. You will be asked to enter your OU Login.
- You will now be asked to select your web domain name and which kind of domain you would like: Custom Domain or Subdomain.
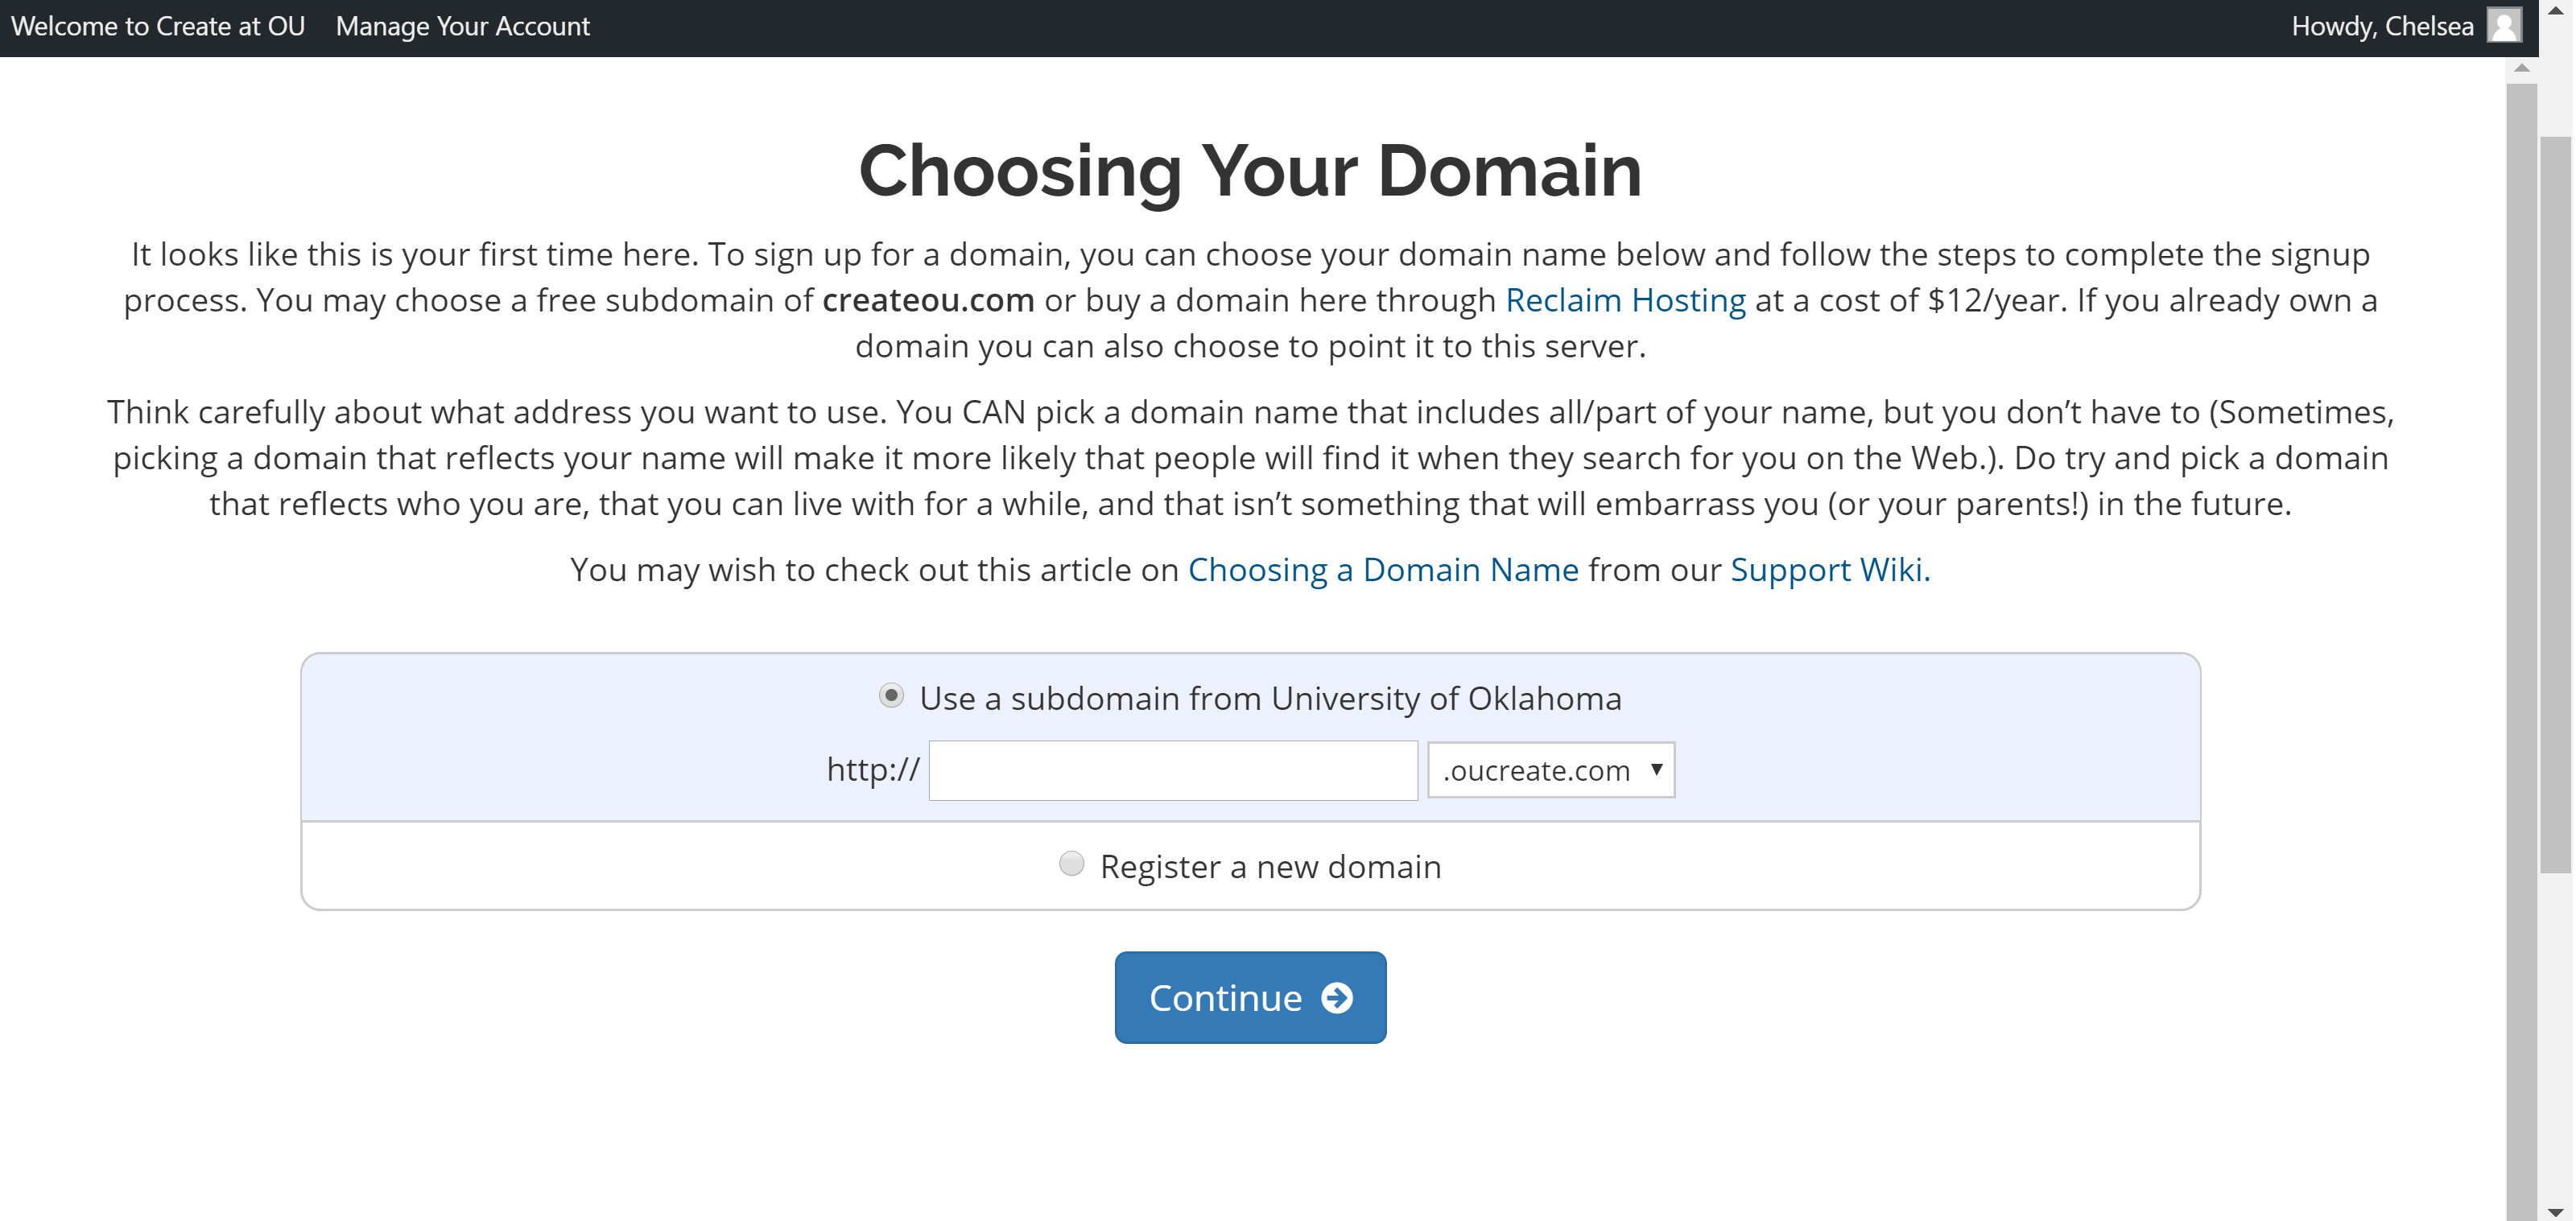
The difference between the two is cost and URL appearance.
- A Custom Domain can be obtained for $12/year, and looks like [customdomain].com; this has the option of ending in .org or .net as well.
- A Subdomain option from OU Create is offered for free to OU students, faculty, and staff. It looks like [freesubdomain].oucreate.com, meaning that it is rooted in OU create, but contains your personalized content. This option does not allow for .org or .net.
-
A tip for naming your domain: Think carefully about what you would like your domain name to be: generally speaking, OU create only allows each individual one (1) domain name, so make sure it is something relevant to you and/or your project.
-
After selecting between Custom domain or subdomain, you will be directed to a ‘Checkout’ page. If you selected the subdomain, your payment will be $0. Accept the Terms of Service, and click Order Now.
- Sign out of OU Create, and then sign back in. You will now see a control panel with Applications, Domains, and Files.
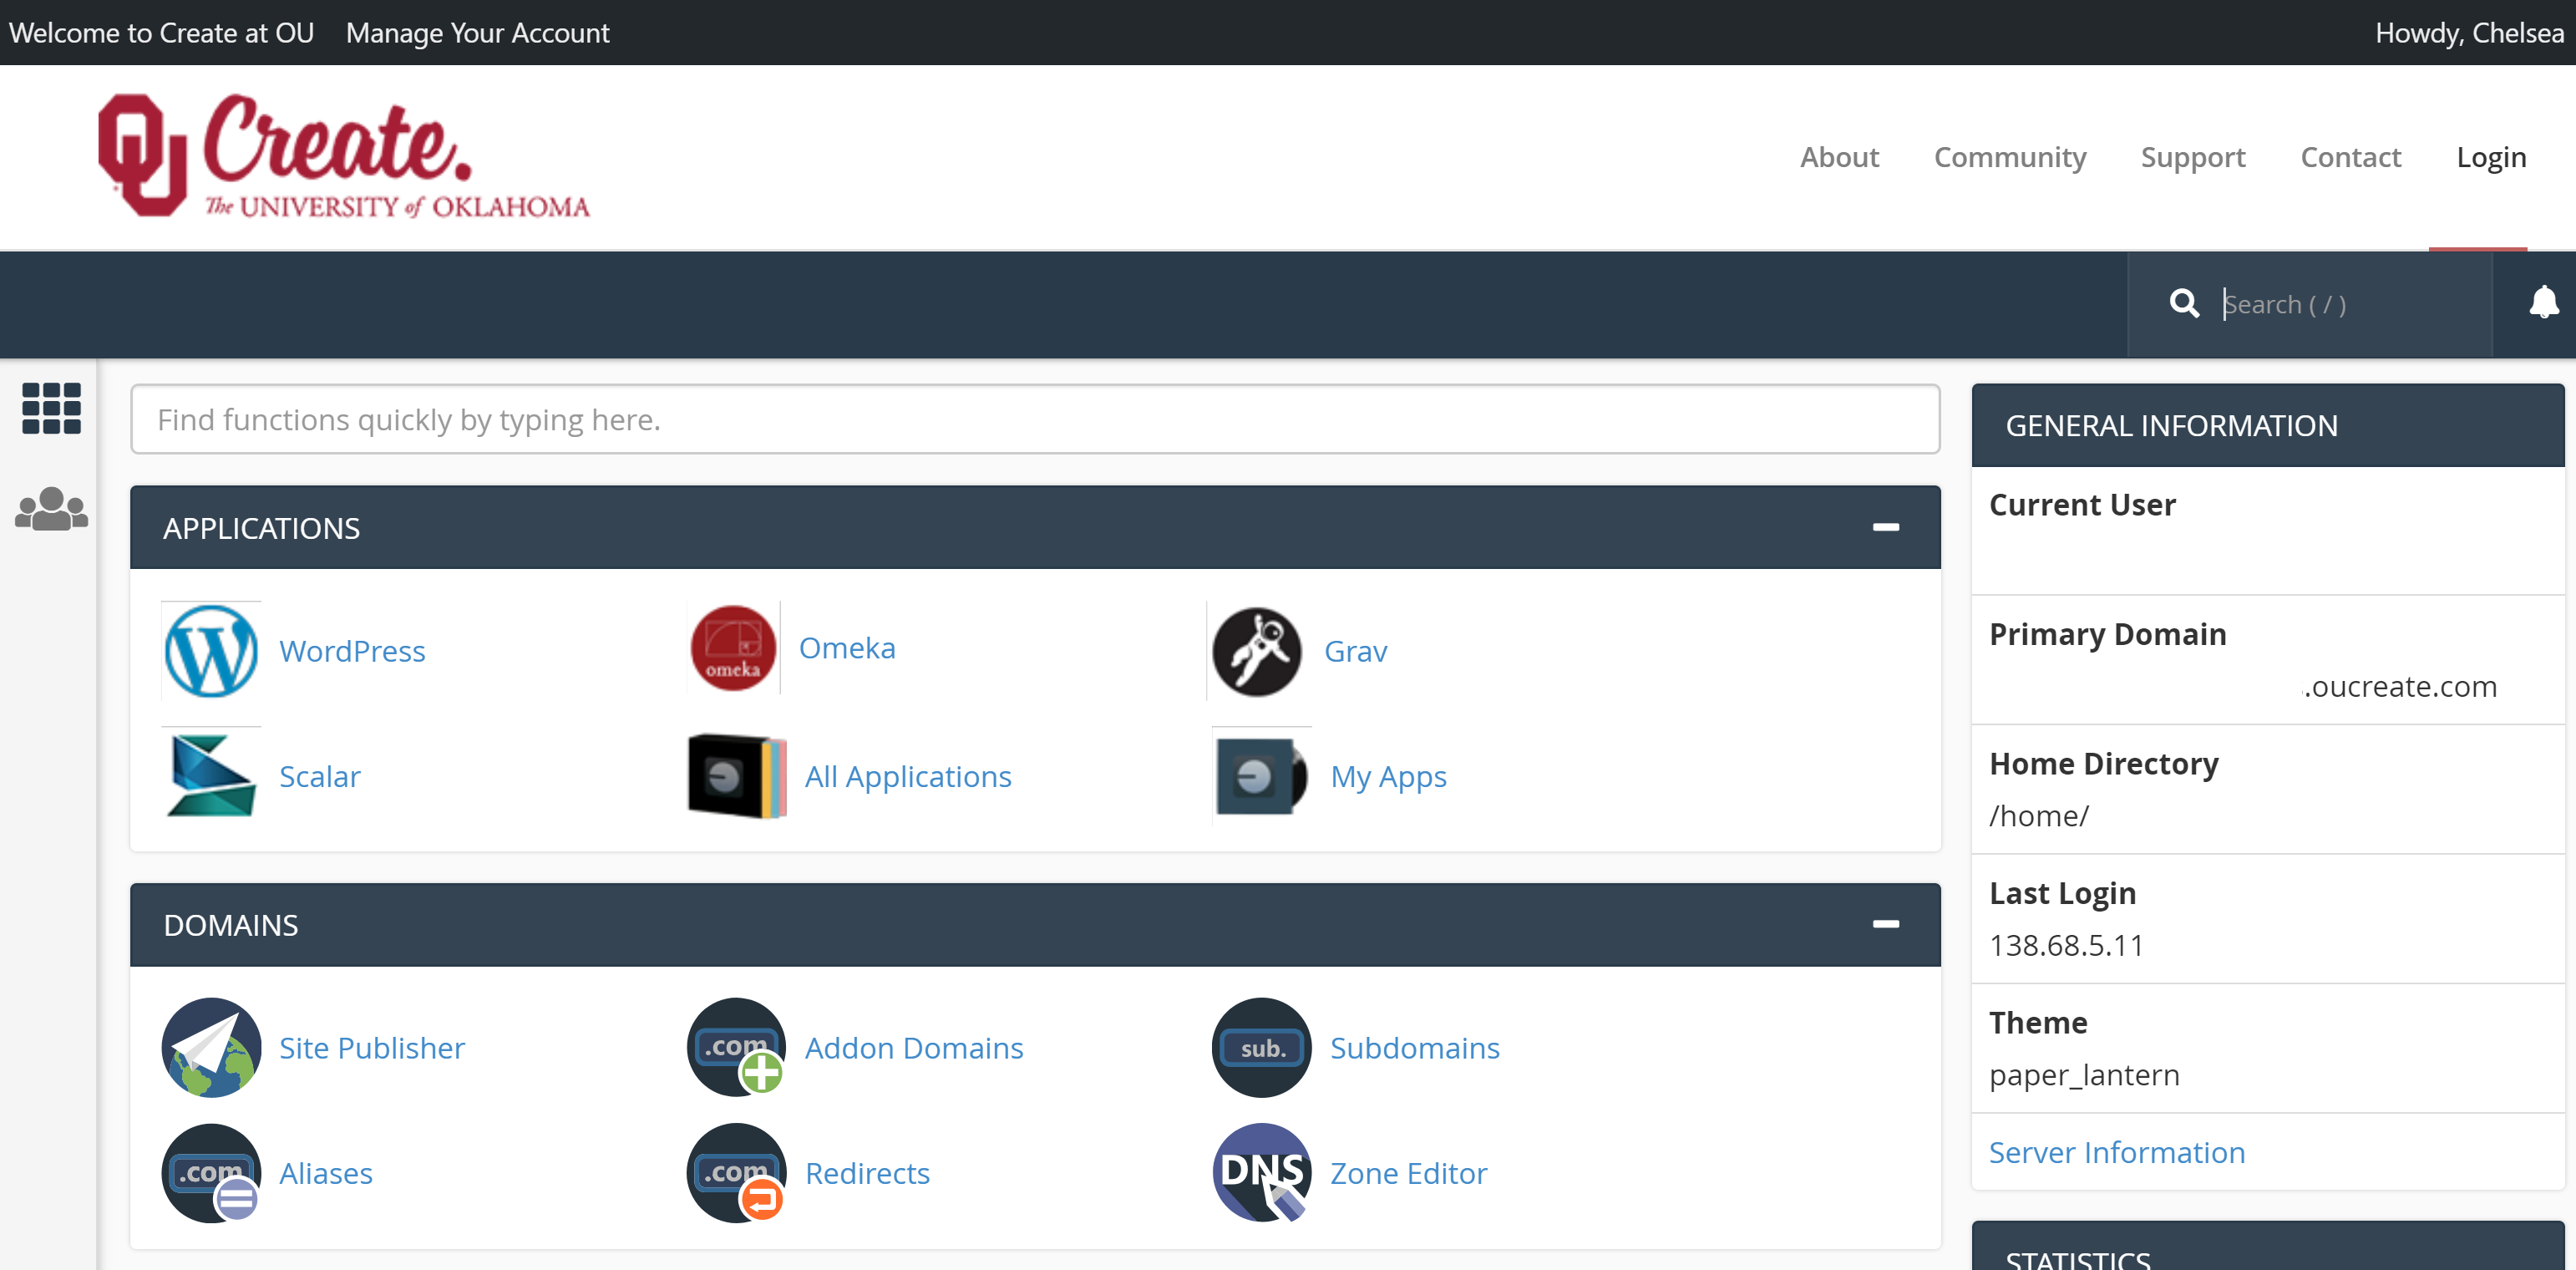
- There are several applications you can use to build your site, but this user’s site was built with Omeka, so that is the one that will be detailed. For help using WordPress, visit http://create.ou.edu/support/applications/wordpress.
Using Omeka to build your OU Create Site
Installing Omeka
- Login to your OU Create account.
- Select Omeka from the Applications section at the top.
- Select Install this Application
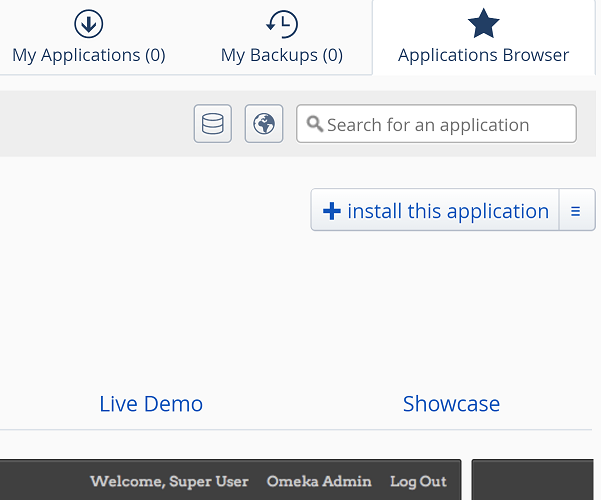
- You will now be directed to make decisions on where to install Omeka. In many cases this will be your main domain, but if you have subdomains you can select which one to use from the dropdown menu. The latest version and English language are selected by default. You can then decide if you would like Omeka to automatically update or not, and if you want to create a backup for the site (this is recommended). If there is an update, and the update creates any errors on your page, this backup will restore the original, error-free version.
- You next need to enter an administrative username and password; this is how you will access the Omeka dashboard to edit your site. Also enter the email address you will use as the administer of the site, and select the name of your website. This will be the name that shows up on the web page, and does not have to match the domain name. This is how you will access the Omeka dashboard to edit your site.
- You can use the default advanced settings, or you can customize them to personal preference, including whether you would like email notifications prior to updates and how often to automatically back-up the site.
- Once you are satisfied, click Install.
Setting Up Omeka on Your Site
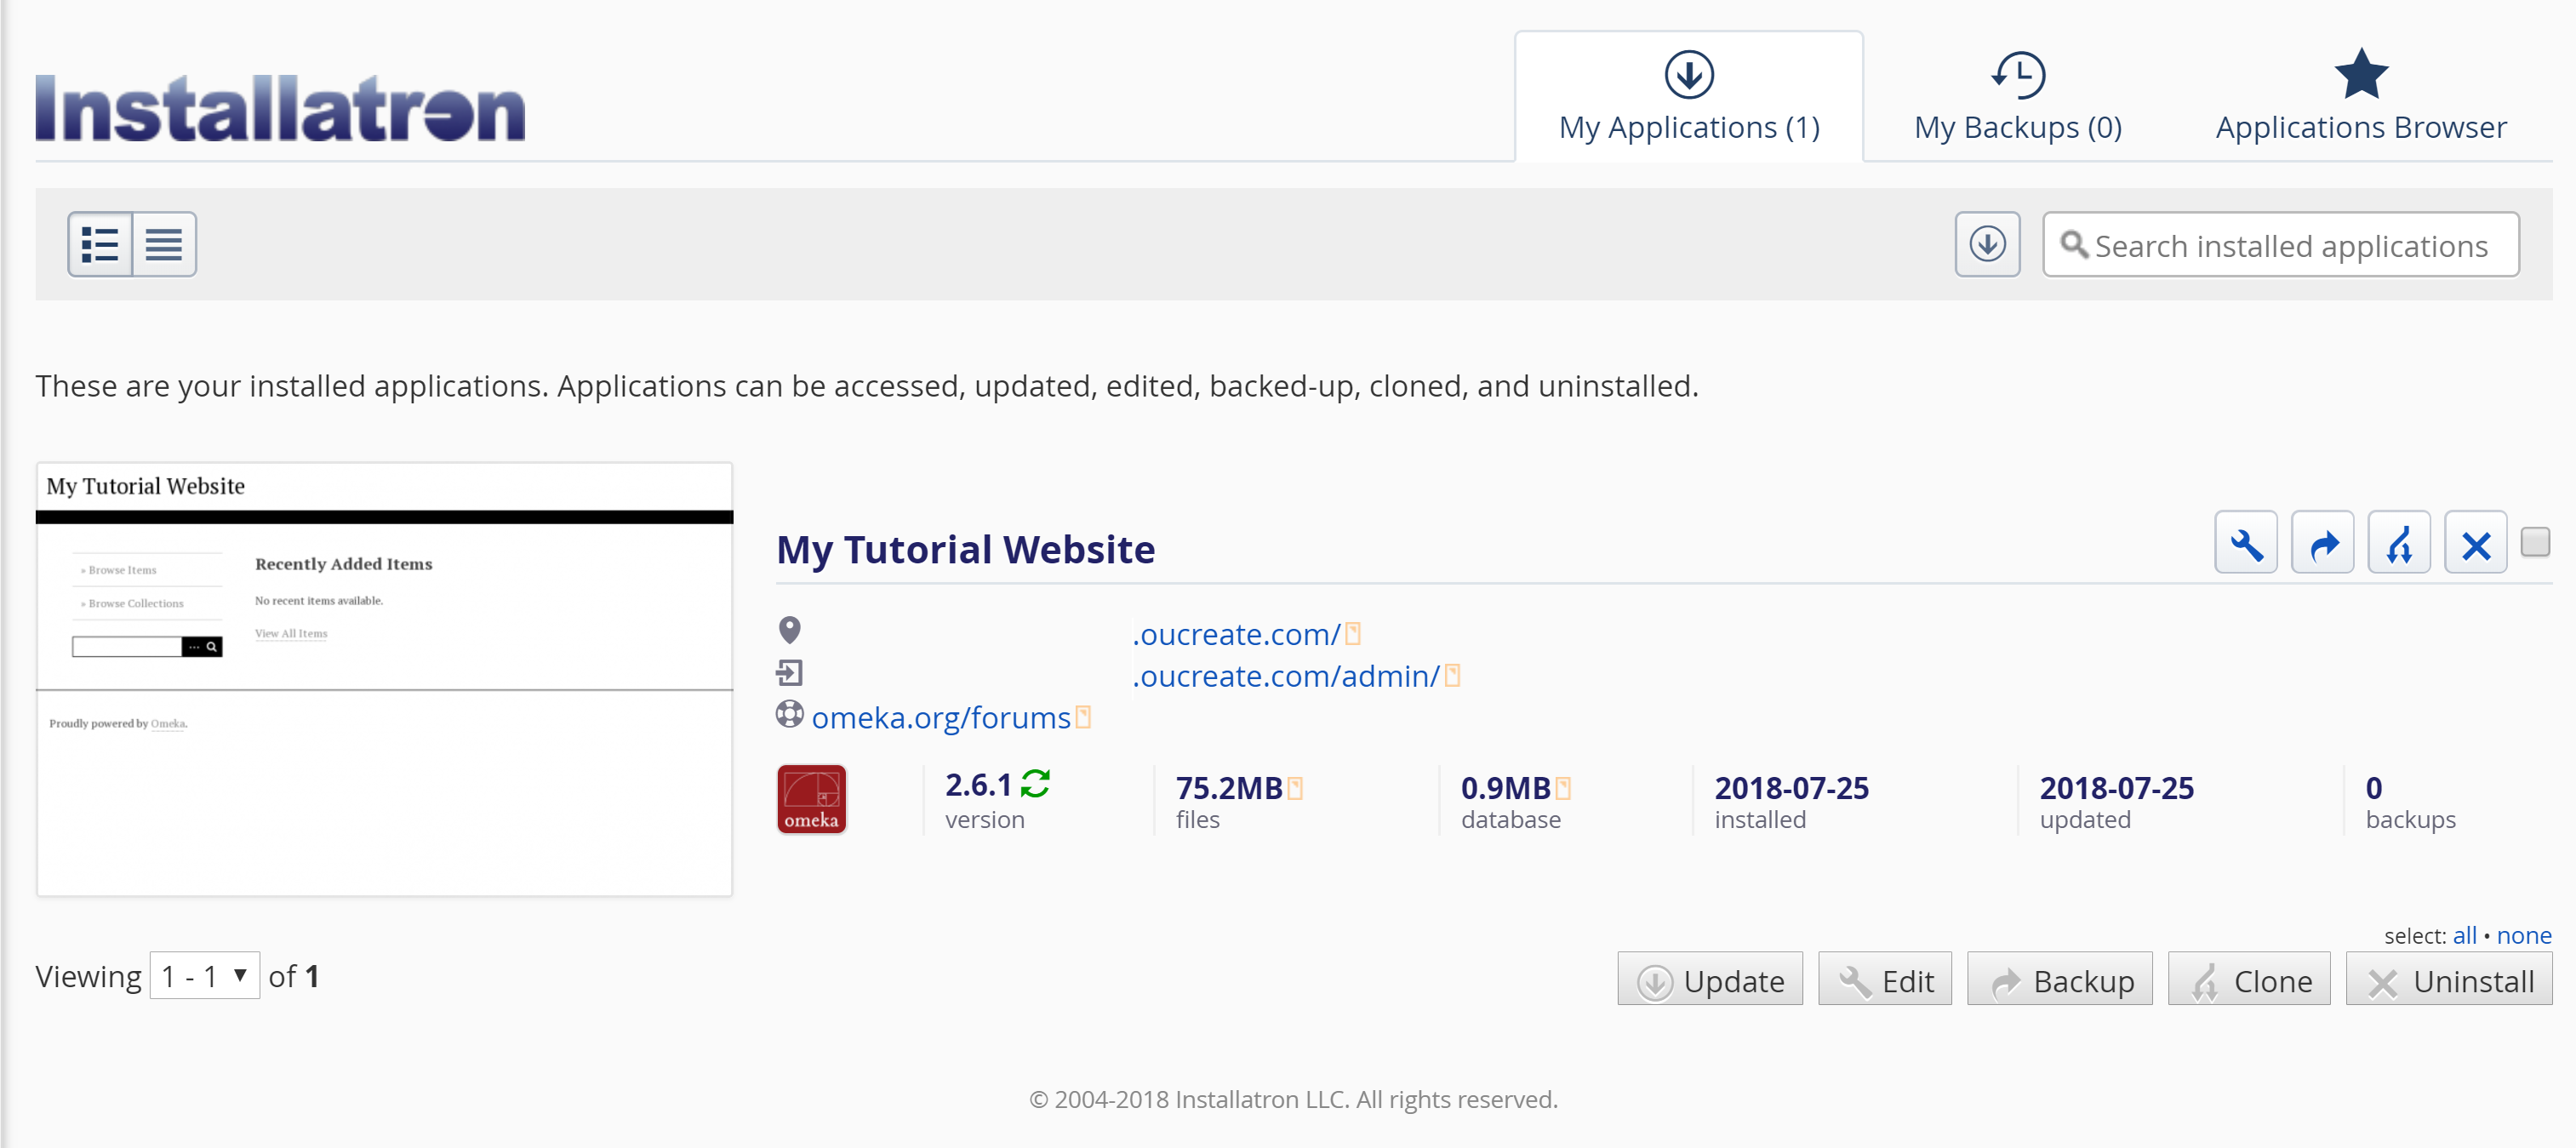
- After installation is complete, click the admin website link to configure your installation.
- When you visit the site for the first time, you will be asked to enter a username, password, and email for the admin for the site (yourself). This login information allows you to make edits to the site.
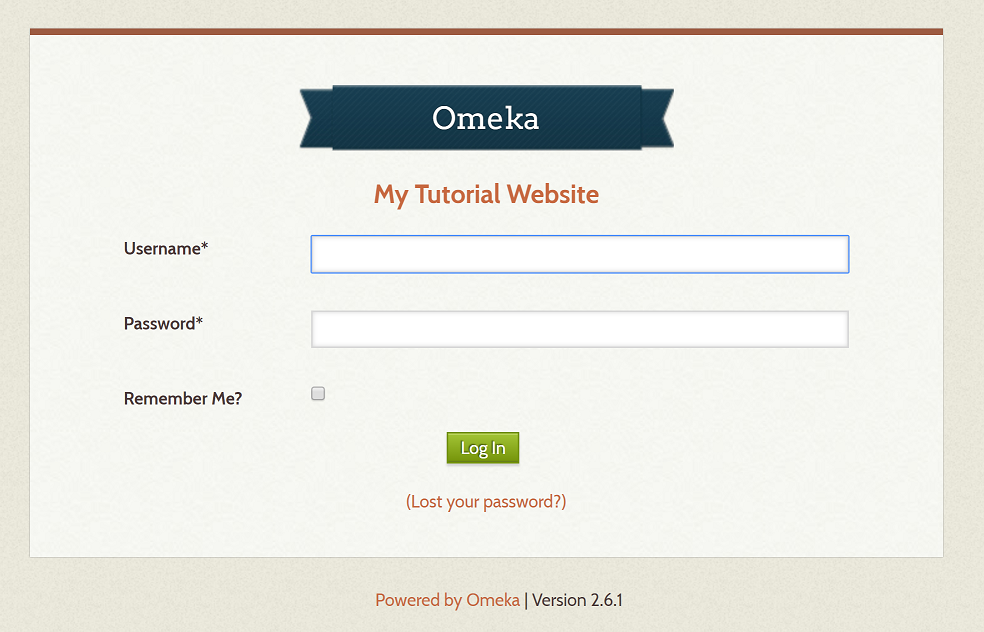
- You will then be asked to create a title for your website. This will appear at the top of your page to visitors. This and other details like the site description and copyright information can be changed and edited later.
- Once everything is to your satisfaction, hit Install.
- You will now be shown a page telling you that Omeka has installed successfully, and offering you to view the Public Site that your visitors will see or the Administrative Dashboard where you can build your site.
Navigating Omeka
Plugins
- Plugins are the building blocks to customize your website. When you download Omeka, you automatically get the most utilized plugins, but you must still install to get them running on your site. For these plugins, simply click Install. You will be given options to personalize the plugin, or you may keep the default settings.

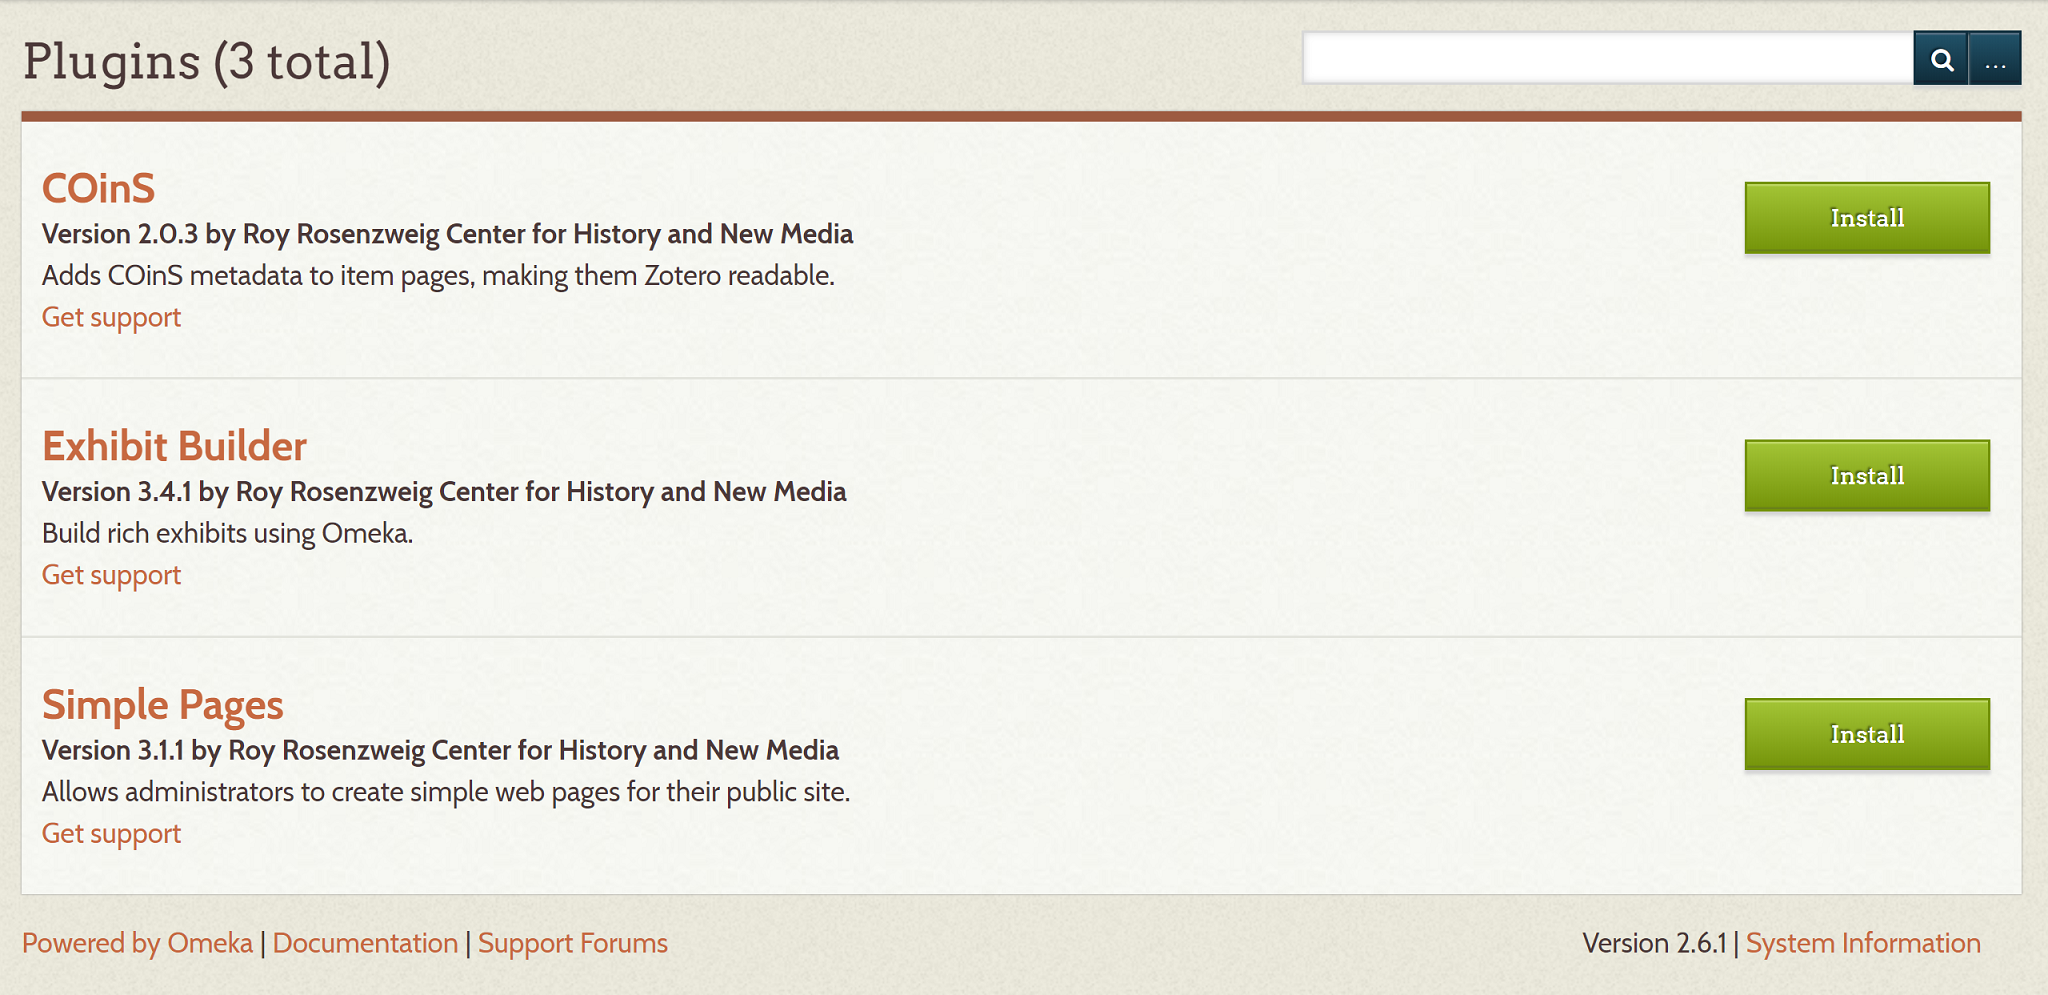
- For Extra Omeka Plugins, you may download them from the Omeka website at http://omeka.org/classic/plugins/
- Find the plugin you wish to download.
- Once the download completes, you will need to login to your OU create account. On the home page (https://create.ou.edu/dashboard/), select Files.
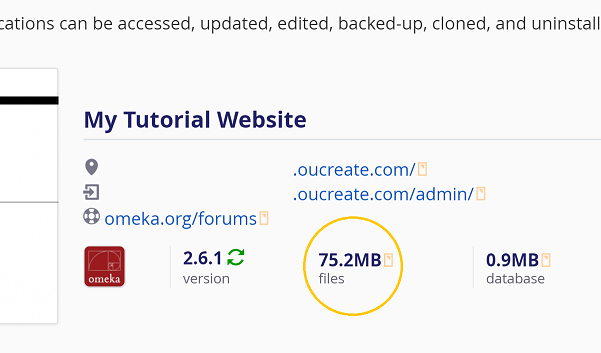
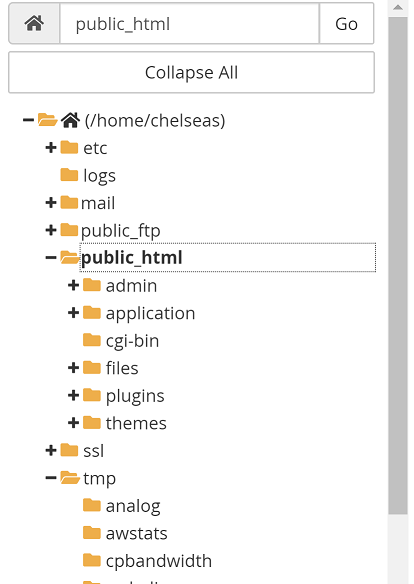
- In the left hand side of the screen, find the folder called public_html and click the + button. Scroll down and find and select the plugins folder.
- Near the top of the page, select the Upload button
- Click the Select File button, and you will now be shown the files in your computer. Locate the plugin you downloaded (either in the downloads folder or wherever you saved it to). You will want to choose the file that ends in .zip, NOT the one with the folder icon. After selecting, hit Open.
- It will now upload your .zip plugin file. After completing the upload, select the Go back to [yourdomain] arrow underneath the installation.
- Now that you are back in your file manager, find the .zip file you just uploaded (.zip files are underneath the folders). Make sure that your Neatline zip file is in the Plugins folder. If it’s not, simply right click it and select Move. A small screen will pop up asking where you would like to move this file to. Paste in /public_html/plugins and it will move the file to your Plugins folder.
- Right click on the zip file and select Extract. Select Extract Files.
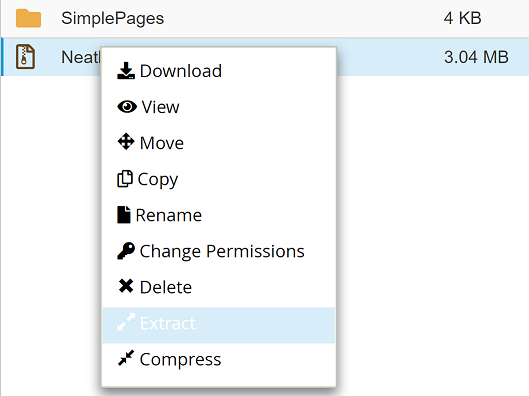
This is what your Plugins folder should now look like:

- There will now be a new folder inside of your plugin folder as shown above, and the plugin is now available in your website’s Omeka Dashboard. If you go back to your Omeka Admin page, “http://yoururl.oucreate.com/admin/plugins”, select Plugins.

- You will see your new plugin with the green install button next to it, so go ahead and click Install!
Appearance
Currently, the default Omeka theme is called “Thanks Roy.” It comes with two other themes to choose from: “Seasons,” and “Berlin.” You may download other themes from the Omeka website at http://omeka.org/classic/themes/, and download the same way as the plugins, only this time uploading the files to the themes folder.
- Selecting Configure Theme will let you personalize your website’s theme by changing the coloring, uploading a header photo, or footer text (like the website’s copyright text). Feel free to play around and find the settings you enjoy!
- Selecting Navigation near the top will allow you to customize your site’s navigation. You can select a homepage, alter the order in which your plugins and pages appear, and more.
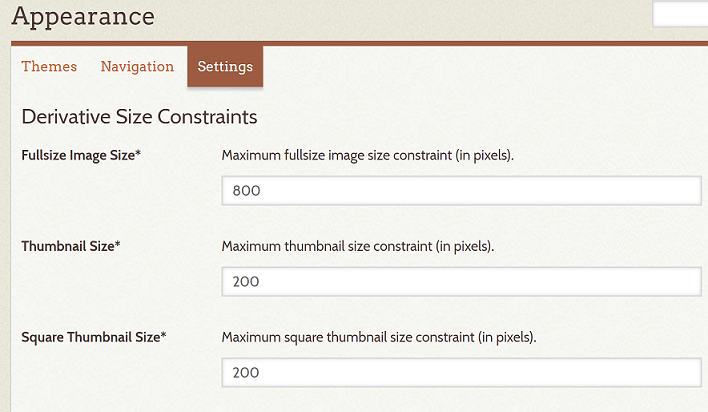
- Under Appearance, the Settings tab allows you to change the size of your images on your site. Change the pixel number to make the images larger or smaller. If you are happy with them, these can be left at the default setting.
Users
At the top of the page next to Appearance and Settings, you can select Users. This is the place where you can add other contributors and admins for your site, and allow them permissions to access the admin dashboard. If you are the only user for your site, you will likely never visit this page.
Settings
The settings tab at the top next to Users is where you can add a site description and copyright information and change the website title.
Omeka has guides for using all of their plugins. Visit the omeka plugins page, select the name of the plugin you are using, select manual located above the ‘version’ table over on the right hand side for FAQ’s on the specific plugin.